you can also read this article in Medium -> click here
In this article, we will look at instance segmentation using YOLOv11.
Instance segmentation goes a step further than object detection and involves identifying individual objects in an image and segmenting them from the rest of the image.
YOLO (You Only Look Once) is one of the most famous object detection systems. It achieves very high speed and accuracy and is one of the easiest ways to get into object detection. The documentation is absolutely perfect, everything is very well explained with lots of examples. It also has a big community of researchers, developers, and enthusiasts who share various improvements and contribute to the project.
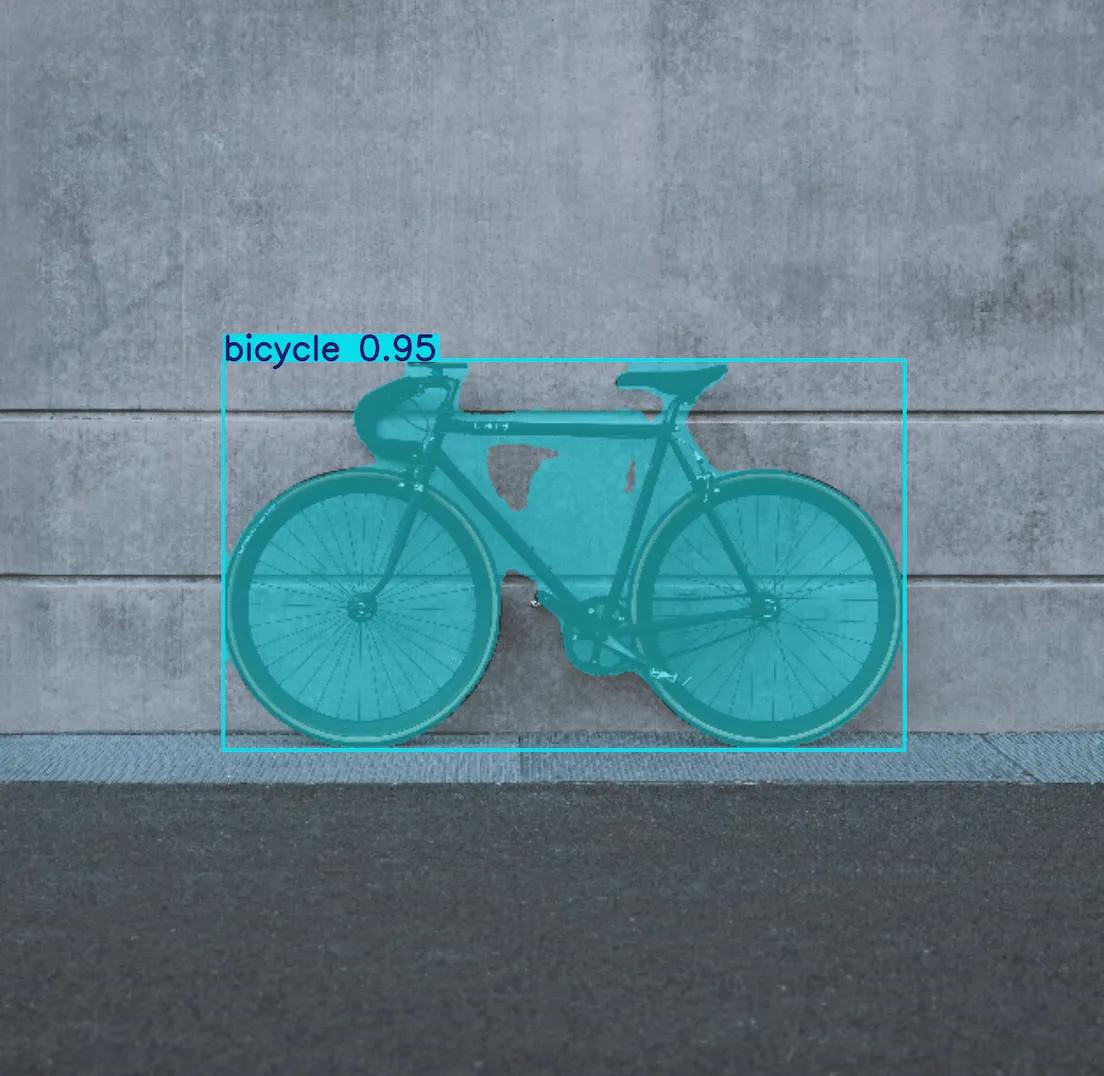
I started playing around with YOLO through Python. The integration is so smooth and I was really impressed by how fast one can start experimenting with instance segmentation. Inference can be done literally in 4 lines:
from ultralytics import YOLO
# Load the YOLOv11 model
model = YOLO("yolo11n-seg.pt")
# Run predictions
results = model.predict('/path/to/image.jpg')
# Display results
results[0].show()
And here the result:
As a Java developer, I also wanted to immediately try this in a simple Java project, but the process there wasn’t that straightforward. Especially understanding the post-processing of the inference outputs cost me a lot of time, so I thought it was worth sharing with people who may also struggle with this.
So to start we need a simple Java gradle or Maven project and add the OpenCV dependency in build.gradle:
plugins {
    // Apply the application plugin to add support for building a CLI application in Java.
    id 'application'
}

repositories {
    // Use Maven Central for resolving dependencies.
    mavenCentral()
}

dependencies {
    implementation 'org.openpnp:opencv:4.9.0-0'
    ...
here is also the maven dependency to add in your pom.xml if you use maven:
<dependency>
    <groupId>org.openpnp</groupId>
    <artifactId>opencv</artifactId>
    <version>4.9.0-0</version>
</dependency>
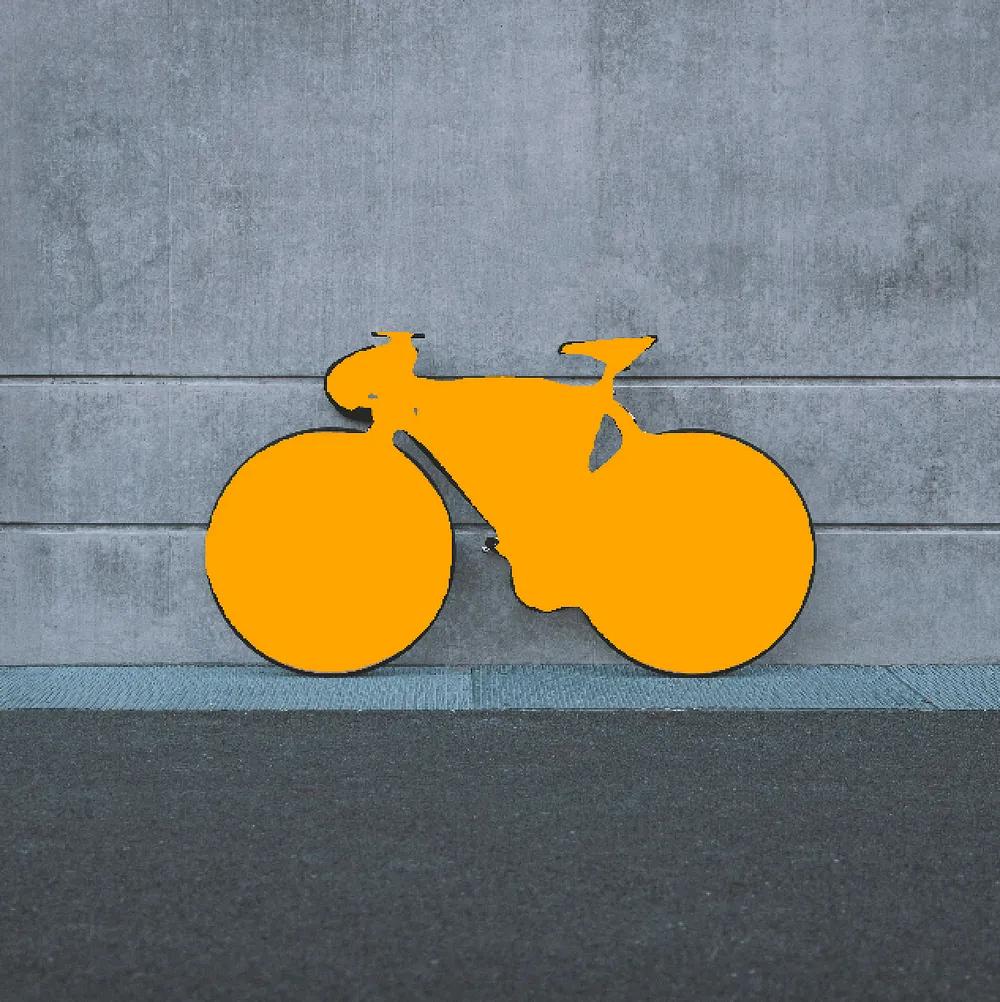
Let’s set up some basics next, before moving to the segmentation part. I usually start by just reading and showing an image with OpenCV to make sure we got the setup correctly. We’ll load the OpenCV library, then read an image from our resources folder (in my example I have a single image image there — bike.jpg) and show it using OpenCV HighGui:
package org.tutorial;
import nu.pattern.OpenCV;
import org.opencv.core.Mat;
import org.opencv.highgui.HighGui;
import org.opencv.imgcodecs.Imgcodecs;

public class InstanceSegmentation {
    private static final String IMAGE_NAME = "bike.jpg";

    public static void main(String[] args) {
        OpenCV.loadLocally();

        String imagePath = ResourceUtils.getResourcePath(IMAGE_NAME);

        Mat image = Imgcodecs.imread(imagePath);

        HighGui.imshow( "Image", image );
        HighGui.waitKey(0);

        HighGui.destroyAllWindows();
        System.exit(0);
    }
}
I like to prepare some util classes when working with the file system.
It allows me to then focus on the object detection and not think about where to
load the images or models from. Here is my ResourceUtils.java helper:
import java.net.URL;

public class ResourceUtils {
    public static String getResourcePath(String resourceName){
        URL resourceUrl = App.class.getClassLoader().getResource( resourceName );
        if(resourceUrl == null){
            throw new RuntimeException("Resource with name "+resourceName+ "not found");
        }
        String resourcePath = resourceUrl.getPath();
        if(resourcePath.isEmpty()) {
            throw new RuntimeException("Error on getting path from resource URL");
        }
        return resourcePath;
    }
}
Alright, now that we have OpenCV in place and we can read and show images, we get to the more interesting part.
We’ll use the OpenCV Deep Neural Network module which is a perfect starting point for any beginner to get into deep-learning-based computer vision and experiment a bit. Models trained in frameworks like PyTorch or TensorFlow must be converted to the ONNX (Open Neural Network Exchange) format in order to be used directly with the OpenCV DNN module. And that’s what we’re going to do next. Luckily the conversion of a YOLO Model to .onnx is very simple. You can do it with the YOLO CLI or with Python. We’ll use the YOLO11-seg model which is the latest version available at the time of writing. I recommend using Python through Google Colab for this. Just create a new notebook and add the following code cell:
!pip install ultralytics
from ultralytics import YOLO
model = YOLO("yolo11n-seg.pt")
success = model.export(format="onnx")
YOLO models, including previous versions, are trained on the COCO (Common Objects in Context) dataset by default. This dataset is widely used in the computer vision community for object detection tasks and has 80 classes, including Person, Car, Bicycle, Dog, Cat, and many more.
After this, just download the yolov11n-seg.onnx model and save it to your resources folder in the Java project.
Our next steps will be
- Prepare the input image for the model
- Load the model
- Run the inference
- Extract the segmentation information from the results
- Visualize the results
We start by preparing the image for the YOLOv11 model. This step includes the resizing (IMG_SIZE is 640px for this YOLO model)
// this step includes swap BGR to RGB
Mat inputBlob = Dnn.blobFromImage(image, 1.0 / 255.0,
                new Size(IMG_SIZE, IMG_SIZE),
                // Here we supply the spatial size that the Convolutional Neural Network expects.
                new Scalar(new double[]{0.0, 0.0, 0.0}),
                true, false);
The last two boolean flags are:
swapRB: flag which indicates that swapping first and last channels in a 3-channel image is necessary (in OpenCV, the default image format is BGR instead of the more common RGB, that’s why we set this flag to true)
crop: flag which indicates whether the image will be cropped after resizing or not.
The next step is to load our model and set our image blob as an input to the network:
String modelPath = ResourceUtils.getResourcePath(MODEL_NAME);
Net net = Dnn.readNetFromONNX(modelPath);
net.setInput(inputBlob);
Now it’s time to feed the input data through the network and get the output predictions:
List<String> outNames = net.getUnconnectedOutLayersNames();
List<Mat> outputsList = new ArrayList<>();
net.forward(outputsList, outNames);
net.getUnconnectedOutLayersNames() returns the names of the output layers of the network. In most deep learning models, the last layer(s) give the final predictions, and this function allows you to get the names of those layers to use them for further processing.
outputsList will hold the results (the actual outputs) after performing the forward pass on the model.
net.forward is used to run the forward pass through the network. It calculates the outputs by processing the input data with the layers of the model.
Now it is time for post-processing — geting the relevant information from the outputs. This is kind of the tricky part and we we’ll have a look at it in great detail in Part 2 of this series, which is coming soon!
Conclusion
Java is not yet there when it comes to rapidly experimenting with object detection and instance segmentation, but hopefully this series will help you get a grasp of what is now possible in this ecosystem with the help of OpenCV.
Hope you have managed to follow along until now. Stay tuned as we tackle this in the next part!